18YDAf11psBJSavARQCwysE7E89zSEMfGG Removal: Tutorial To Uninstall 18YDAf11psBJSavARQCwysE7E89zSEMfGG Manually
Browsers infected by 18YDAf11psBJSavARQCwysE7E89zSEMfGG| Mozilla Versions | Mozilla Firefox:44, Mozilla Firefox:41.0.1, Mozilla Firefox:39.0.3, Mozilla Firefox:38.1.0, Mozilla Firefox:45.7.0, Mozilla:43.0.4, Mozilla:38.2.1, Mozilla Firefox:45.6.0, Mozilla Firefox:48.0.2, Mozilla Firefox:41, Mozilla:47.0.1 |
| Internet Explorer Versions | Internet Explorer 10-10.0.8250.00000, Internet Explorer 7-7.00.6000.16441, Internet Explorer 7-7.00.6000.16441, Internet Explorer 8-8.00.7000.00000, Internet Explorer 8-8.00.6001.17184, Internet Explorer 7-7.00.6000.16386, IE 10:10.0.9200.16384, Internet Explorer 7-7.00.6001.1800, IE 7:7.00.6000.16441, Internet Explorer 10:10.0.9200.16384, IE 9:9.0.8080.16413, IE 7:7.00.5730.1300 |
| Chrome Versions | Chrome 56.0.2924, Chrome 55.0.2883, Chrome 57.0.2987, Chrome 58.0, Chrome 52.0.2743, Chrome 54.0.2840, Chrome 53.0.2785, Chrome 49.0.2623, Chrome 50.0.2661, Chrome 48.0.2564 |

Method 1 : Start Your System in Safe Mode With Networking
Method 2 : Deleting 18YDAf11psBJSavARQCwysE7E89zSEMfGG From Control Panel
Method 3 : Stop Related Process To 18YDAf11psBJSavARQCwysE7E89zSEMfGG From Task Manager
Method 4 : Delete 18YDAf11psBJSavARQCwysE7E89zSEMfGG From Registry Editor
Method 5 : Delete unwanted extensions, add-ons, plug-ins from Internet Explorer
Method 1 : Start Your System in Safe Mode With Networking
For Windows XP/Vista/7
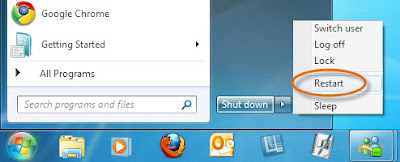
- Go to the start menu > choose Restart option.
- Start pressing the F8 key once your System become active.

- It will open the Advanced boot options on screen.
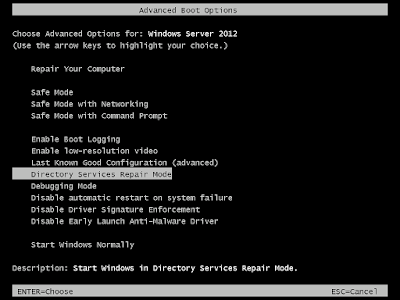
- Select Safe mode with networking > press Enter key.
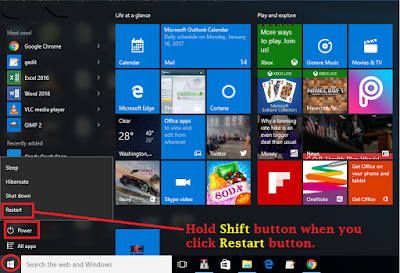
For Windows 8/10
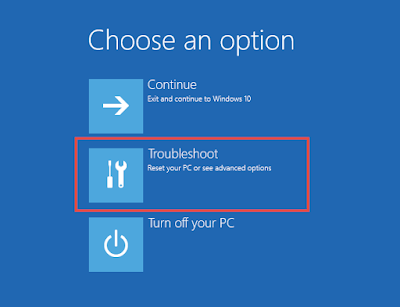
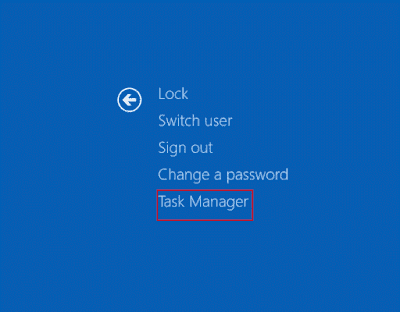
- From your screen, press power button and click Restart.
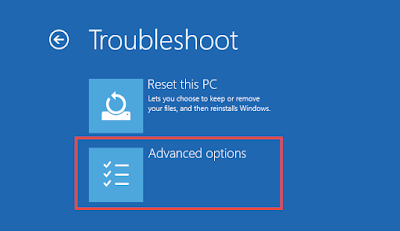
- From choose an option Window, select Troubleshoot option.
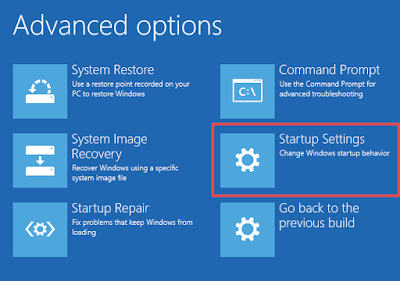
- Then click on the 'Advanced option.
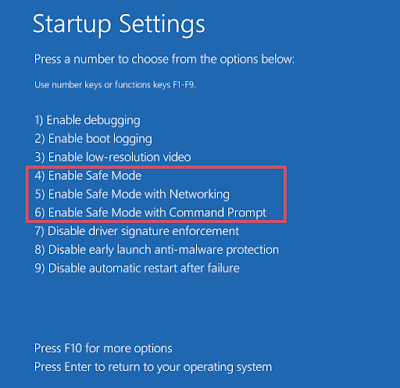
- After that select Start-up setting option.
- Select Enable safe mode > press the Restart button.
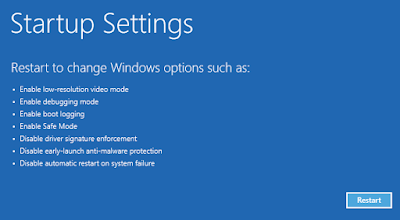
- In order to enable Safe Mode With Networking, Press F5 key.
Method 2 : Deleting 18YDAf11psBJSavARQCwysE7E89zSEMfGG From Control Panel
Delete 18YDAf11psBJSavARQCwysE7E89zSEMfGG From Windows 7/Vista
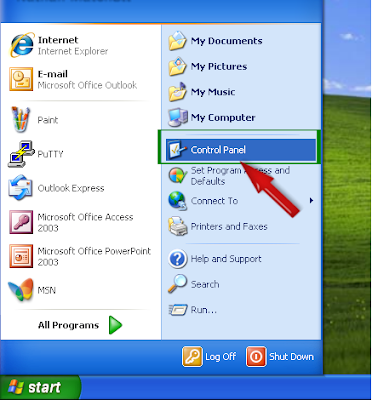
- Open the start menu and then select Control panel.
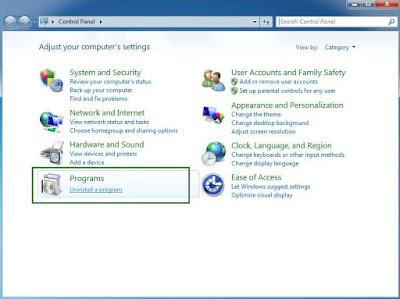
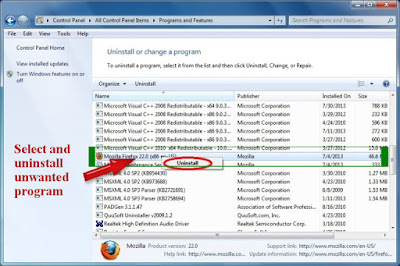
- From the Programs group, select remove a program option.
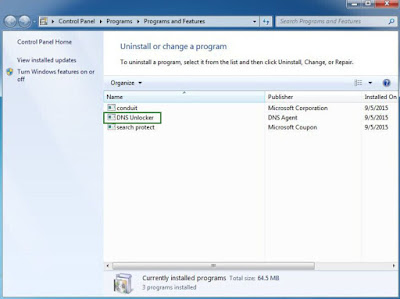
- Select 18YDAf11psBJSavARQCwysE7E89zSEMfGG related program > select uninstall/Change.
Delete 18YDAf11psBJSavARQCwysE7E89zSEMfGG From Windows 8
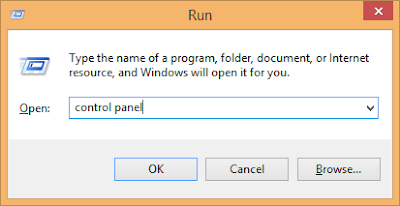
- Press the Win + R buttons at once to open the Run Box.

- In the Run box type Control panel and press Enter key.
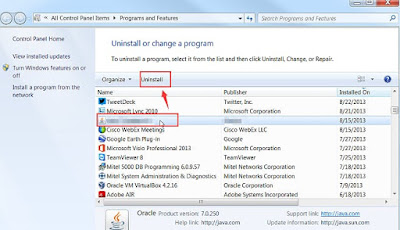
- Click remove a program option under the Programs group.
- From installed program select 18YDAf11psBJSavARQCwysE7E89zSEMfGG > click remove option.
Delete 18YDAf11psBJSavARQCwysE7E89zSEMfGG From Windows 10
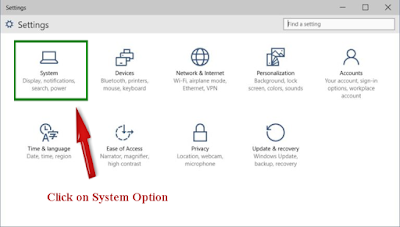
- First click on Start button and select Setting option.
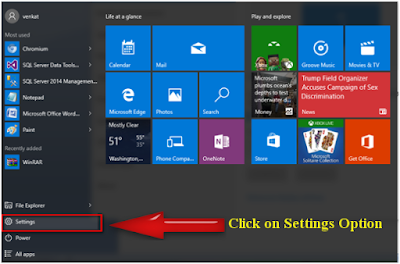
- From the settings menu, select the System option.
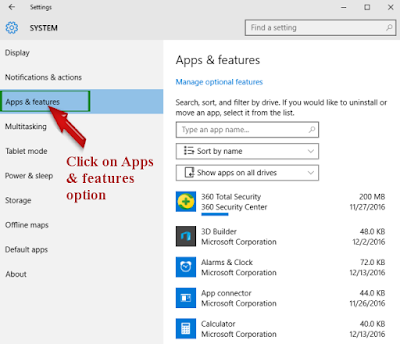
- Now select 'Apps & features' option from the left panel.
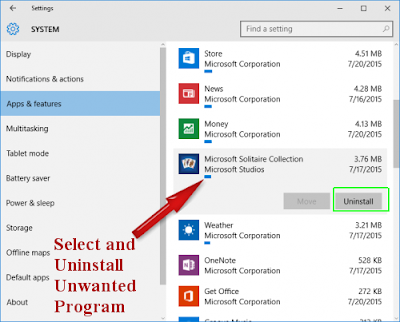
- Select keyword} related program and Delete them.
Method 3 : Stop Related Process To 18YDAf11psBJSavARQCwysE7E89zSEMfGG From Task Manager
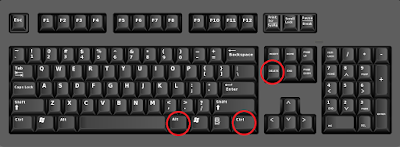
- Press the ALT+Ctrl+Del buttons at once.
- Then select the Task manager option from the opened list.
- Select malicious or 18YDAf11psBJSavARQCwysE7E89zSEMfGG related process.
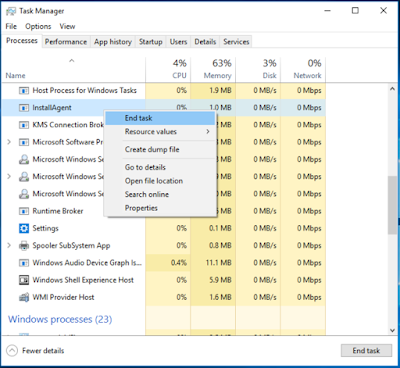
- Finally click on the End Task button.
Method 4 : Delete 18YDAf11psBJSavARQCwysE7E89zSEMfGG From Registry Editor
- Press Win + R button together .

- It will open the Run window on screen.
- Type regedit > click on OK button.
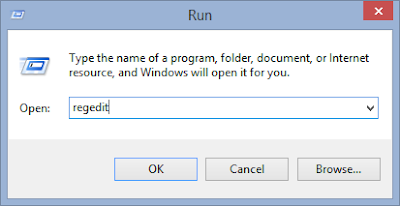
- Search for 18YDAf11psBJSavARQCwysE7E89zSEMfGG related registry and remove them.
HKEY_LOCAL_MACHINESYSTEMCurrentControlSetServicesWpm
HKEY_CURRENT_USERSoftwareMicrosoftInternet ExplorerMain ‘Default_Page_URL’
HKEY_LOCAL_MachineSoftwareClassesWin32.TrojanDropper.Vidro
HKEY_CURRENT_USERSoftwareMicrosoftWindowsCurrentVersionRun ‘.exe’
HKCUSoftwareMicrosoftWindowsCurrentVersionInternet Settingsrandom
HKEY_LOCAL_MACHINESOFTWAREMicrosoftWindowsCurrentVersionrunrandom
HKEY_CURRENT_USERSoftwareMicrosoftWindowsCurrentVersionInternet Settings ‘CertificateRevocation’ = ’0
Method 5 : Delete unwanted extensions, add-ons, plug-ins from Internet Explorer
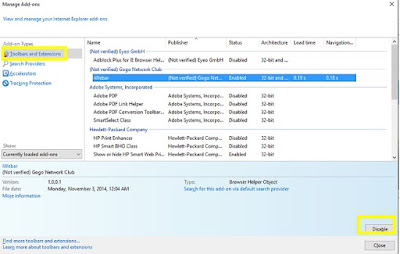
Delete 18YDAf11psBJSavARQCwysE7E89zSEMfGG From Internet Explorer
- First start the Internet explorer browser.
- Click on the Gear icon from right-top corner.
- Click on 'Manage add-ons' > select Tool-bars and Extensions tab.
- Search for 18YDAf11psBJSavARQCwysE7E89zSEMfGG related add-ons > click on 'Disable'
- If add-on can't be deleted then click on remove and click Close.
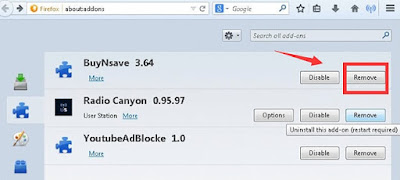
Delete 18YDAf11psBJSavARQCwysE7E89zSEMfGG From Mozilla Firefox
- Start Mozilla Firefox browser and go to menu
- You will get Add-ons Manager tab on your screen.
- In the add-on manager tab, select Extension or Add-on panel
- Select 18YDAf11psBJSavARQCwysE7E89zSEMfGG related add-on > click on remove button
- If the pop-up appear, click on Restart now option.
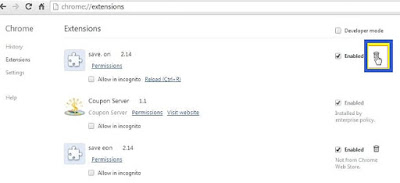
Delete 18YDAf11psBJSavARQCwysE7E89zSEMfGG From Google chrome
- Start the Google Chrome browser and click on menu button.
- Then click on the More tools and Extensions option
- Find out suspicious extension related to 18YDAf11psBJSavARQCwysE7E89zSEMfGG
- Finally click on 'Recycle Bin' to Delete unwanted extension.
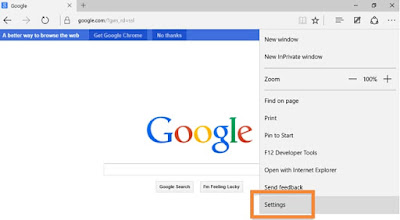
Delete 18YDAf11psBJSavARQCwysE7E89zSEMfGG From Microsoft Edge
Because there is no extension in the Microsoft Edge, hence you need to reset the browser settings to Delete 18YDAf11psBJSavARQCwysE7E89zSEMfGG.
- Open Microsoft Edge on your System.
- Go to right top corner > tap on More (…) icon > go to Settings.
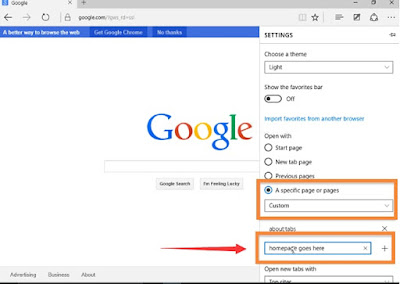
- Now select A specific page or pages from the Open option.
- Select Custom option > enter URL of your desired homepage.
No comments:
Post a Comment