Shielddefense.net Deletion: Best Way To Uninstall Shielddefense.net Instantly
Shielddefense.net errors which should also be noticed 0x00000059, 0x000000FE, 0x000000DF, 0x00000114, 0x00000001, 0x00000127, 0x80240030 WU_E_INVALID_PROXY_SERVER The format of the proxy list was invalid., 0x8024E004 WU_E_EE_INVALID_VERSION An expression evaluator operation could not be completed because the version of the serialized expression data is invalid., 0x0000001D, 0x00000061, 0x0000000F, 0x000000F1, 0x000000E9, 0x000000D5, 0x80240028 WU_E_UNINSTALL_NOT_ALLOWED The update could not be uninstalled because the request did not originate from a WSUS server., 0x8024D011 WU_E_SELFUPDATE_REQUIRED Windows Update Agent must be updated before search can continue.Delete Shielddefense.net Assistance For From Your Infected Operating System
Shielddefense.net is a highly malicious program which has infected a number of Operating System recently. This nasty program is designed to target mainly the Windows operating Operating System. In order to invade its targeted Operating System it doesn't need permission from user, instead of that it use deceptive ways. After infecting your Operating System it start screwing Operating System as well as browser settings. As a result of this your Operating System will run weirdly. Because of its hideous features it can stay in the compromised Operating System for a long time without detection. In order to sneak in the Operating System it depend on several tricky ways such as software bundler, spam emails, malicious website, infected storage device etc. Upon its successful installation, it start a series of malicious activities in the Operating System which put it in poor condition. If you don't want to take chance with your Operating System as well as privacy then do not hesitate in Deletion of Shielddefense.net.

Method 1 : Start Your Operating System In Safe Mode With Networking
Method 2 : Deleting Shielddefense.net From Control Panel
Method 3 : Stop Related Process To Shielddefense.net From Task Manager
Method 4 : Delete Shielddefense.net From Registry Editor
Method 5 : Delete Unwanted extensions, add-ons, plug-ins from Firefox
Method 1 : Start Your Operating System In Safe Mode With Networking
For Windows XP/Vista/7
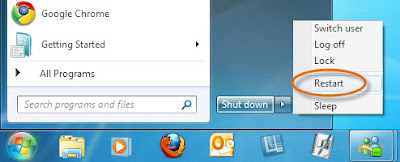
- Go to the start menu > choose Restart option.
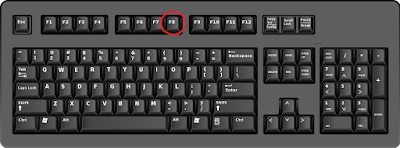
- Start pressing the F8 key once your Operating System become active.
- It will open the Advanced boot options on screen.
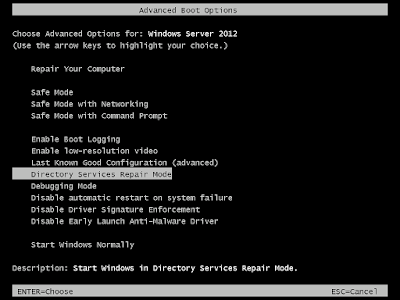
- Select Safe mode with networking > press Enter key.
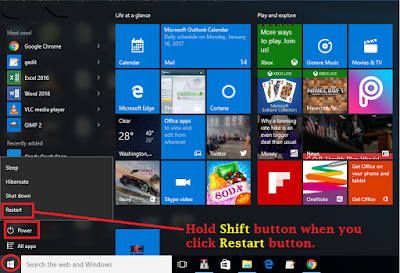
For Windows 8/10
- From your screen, press power button and click Restart.
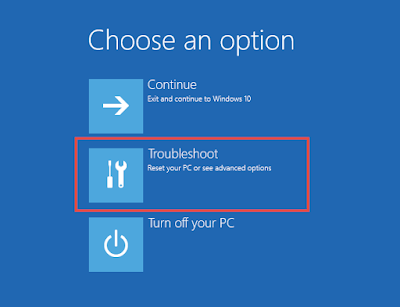
- From choose an option Window, select Troubleshoot option.
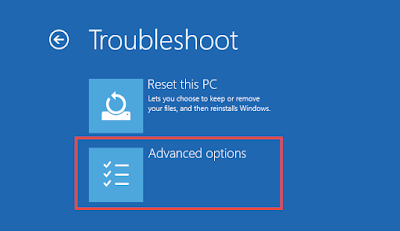
- Then click on the 'Advanced option.
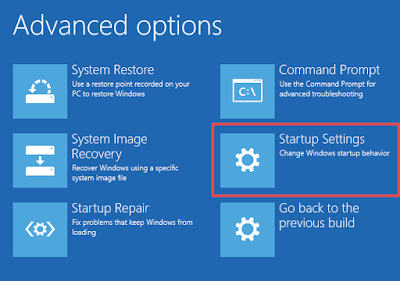
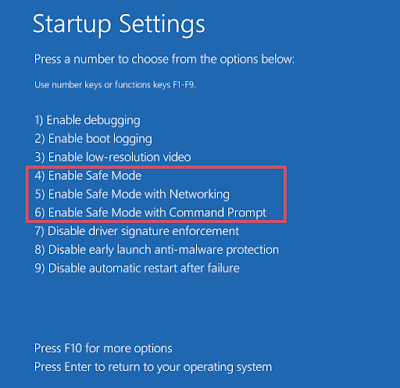
- After that select Start-up setting option.
- Select Enable safe mode > press the Restart button.
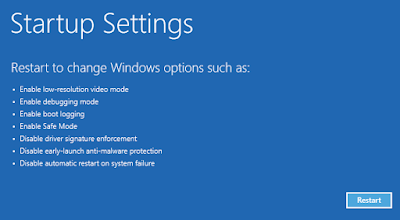
- In order to enable Safe Mode With Networking, Press F5 key.
Method 2 : Deleting Shielddefense.net From Control Panel
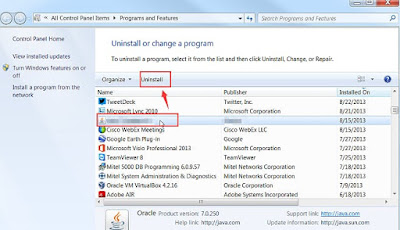
Delete Shielddefense.net From Windows 7/Vista
- Open the start menu and then select Control panel.
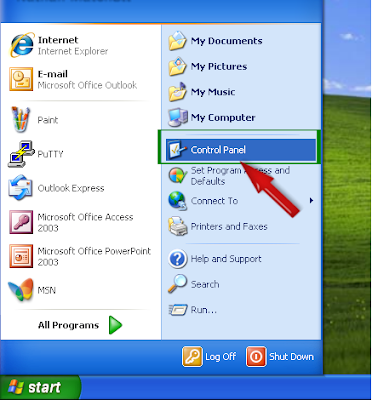
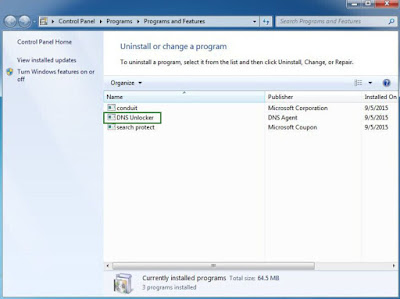
- From the Programs group, select remove a program option.
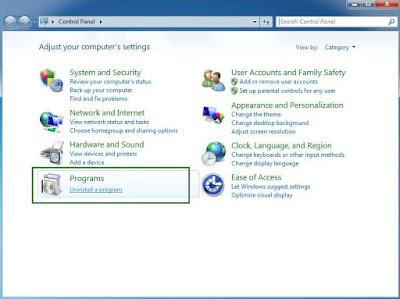
- Select Shielddefense.net related program > select uninstall/Change.
Delete Shielddefense.net From Windows 8
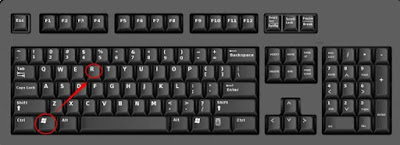
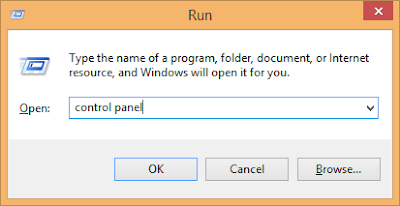
- Press the Win + R buttons at once to open the Run Box.
- In the Run box type Control panel and press Enter key.
- Click remove a program option under the Programs group.
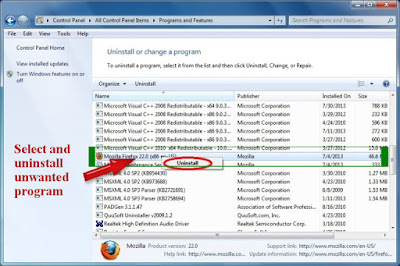
- From installed program select Shielddefense.net > click remove option.
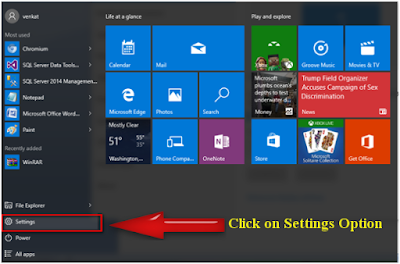
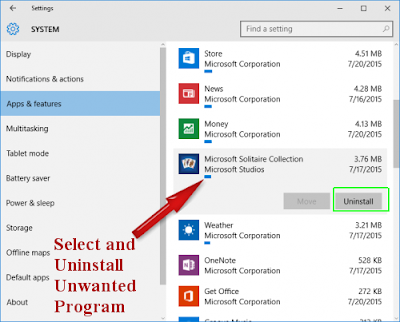
Delete Shielddefense.net From Windows 10
- First click on Start button and select Setting option.
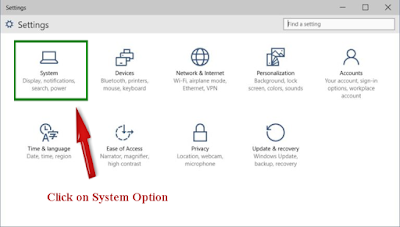
- From the settings menu, select the Operating System option.
- Now select 'Apps & features' option from the left panel.
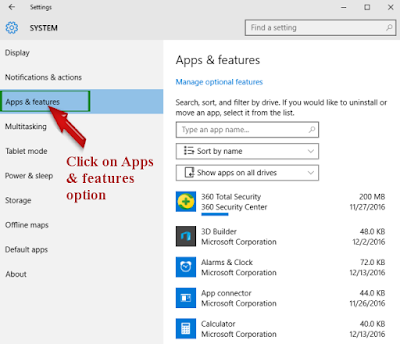
- Select Shielddefense.net related program and Delete them.
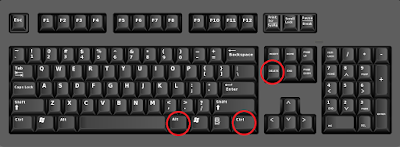
Method 3 : Stop Related Process To Shielddefense.net From Task Manager
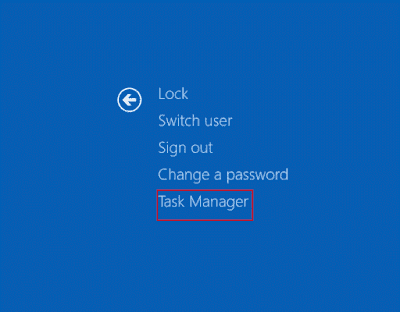
- Press the ALT+Ctrl+Del buttons at once.
- Then select the Task manager option from the opened list.
- Select malicious or Shielddefense.net related process.
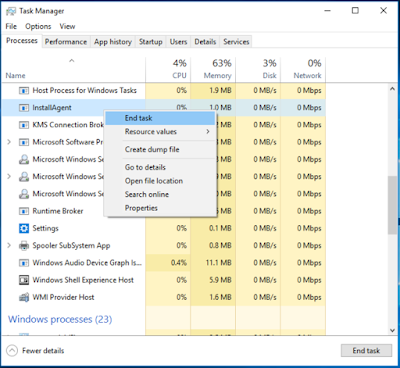
- Finally click on the End Task button.
Method 4 : Delete Shielddefense.net From Registry Editor
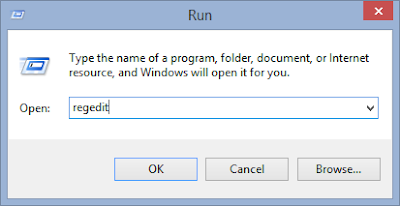
- Press Win + R button together .

- It will open the Run window on screen.
- Type regedit > click on OK button.
- Search for Shielddefense.net related registry and remove them.
HKEY_LOCAL_MACHINESYSTEMCurrentControlSetServicesWpm
HKEY_CURRENT_USERSoftwareMicrosoftInternet ExplorerMain ‘Default_Page_URL’
HKEY_LOCAL_MachineSoftwareClassesWin32.TrojanDropper.Vidro
HKEY_CURRENT_USERSoftwareMicrosoftWindowsCurrentVersionRun ‘.exe’
HKCUSoftwareMicrosoftWindowsCurrentVersionInternet Settingsrandom
HKEY_LOCAL_MACHINESOFTWAREMicrosoftWindowsCurrentVersionrunrandom
HKEY_CURRENT_USERSoftwareMicrosoftWindowsCurrentVersionInternet Settings ‘CertificateRevocation’ = ’0
Method 5 : Delete Unwanted extensions, add-ons, plug-ins from Firefox
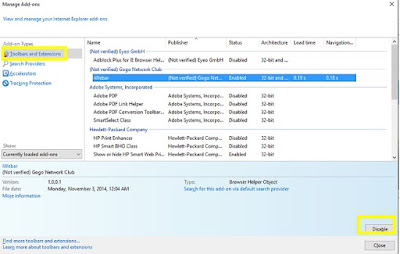
Delete Shielddefense.net From Internet Explorer
- First start the Internet explorer browser.
- Click on the Gear icon from right-top corner.
- Click on 'Manage add-ons' > select Tool-bars and Extensions tab.
- Search for Shielddefense.net related add-ons > click on 'Disable'.
- If add-on can't be deleted then click on remove and click Close.
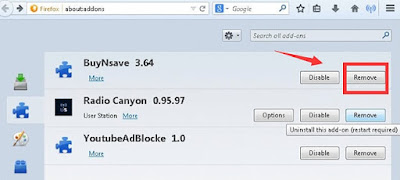
Delete Shielddefense.net From Mozilla Firefox
- Start Mozilla Firefox browser and go to menu.
- You will get Add-ons Manager tab on your screen.
- In the add-on manager tab, select Extension or Add-on panel.
- Select Shielddefense.net related add-on > click on remove button.
- If the pop-up appear, click on Restart now option.
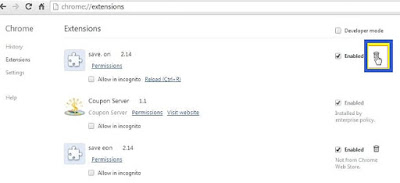
Delete Shielddefense.net From Google chrome
- Start the Google Chrome browser and click on menu button.
- Then click on the More tools and Extensions option.
- Find out suspicious extension related to Shielddefense.net.
- Finally click on 'Recycle Bin' to Delete unwanted extension.
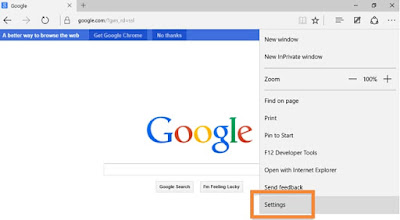
Delete Shielddefense.net From Microsoft Edge
Because there is no extension in the Microsoft Edge, hence you need to reset the browser settings to Delete Shielddefense.net.
- Open Microsoft Edge on your Operating System.
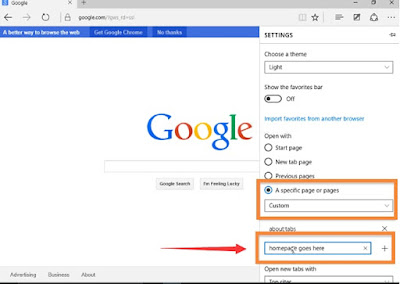
- Go to right top corner > tap on More (...) icon > go to Settings.
- Now select A specific page or pages from the Open option.
- Select Custom option > enter URL of your desired homepage.
No comments:
Post a Comment